Product Creation & Publishing
This guide explains how to create, configure, and publish a product on the platform so users can discover and subscribe to it through the marketplace.
Who is this for?
This guide is intended for product owners or developers who want to publish their products to the marketplace.
Step-by-Step Product Creation Guide
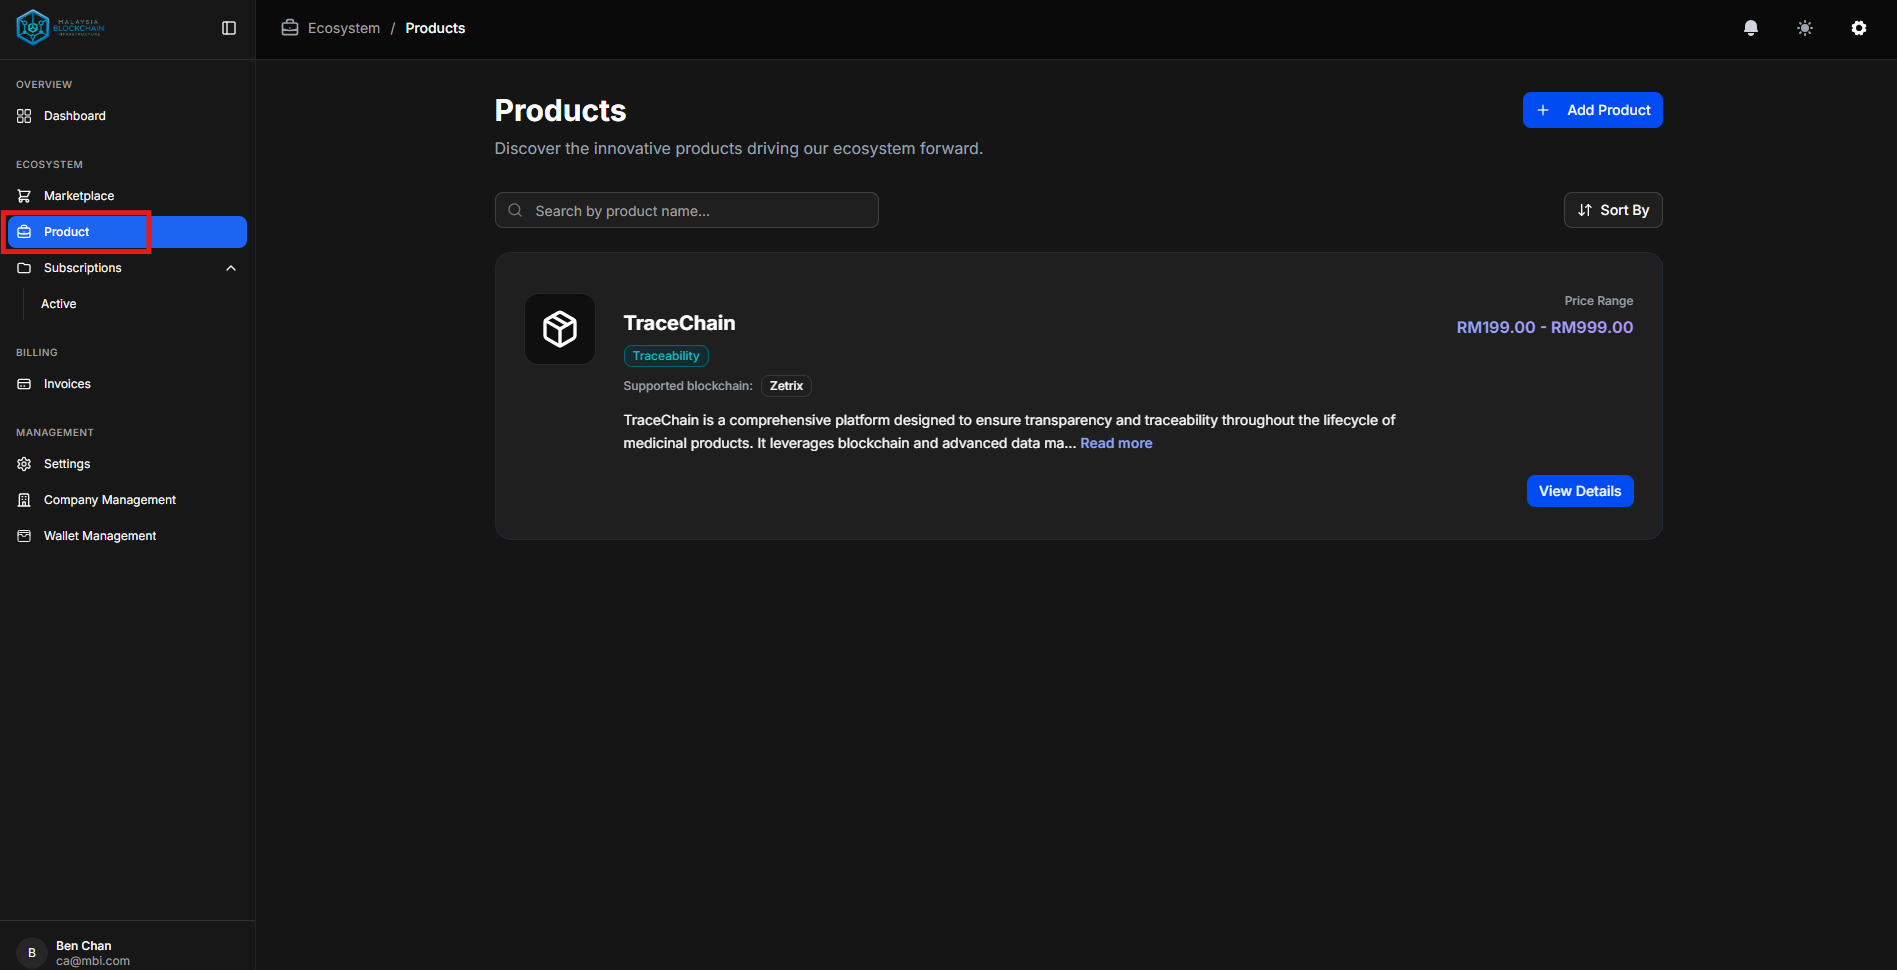
Step 1: Access the Product Menu
- Log in to the platform.
- Open the Product menu on the sidebar.
- View your list of products, including those in Draft and Live status.
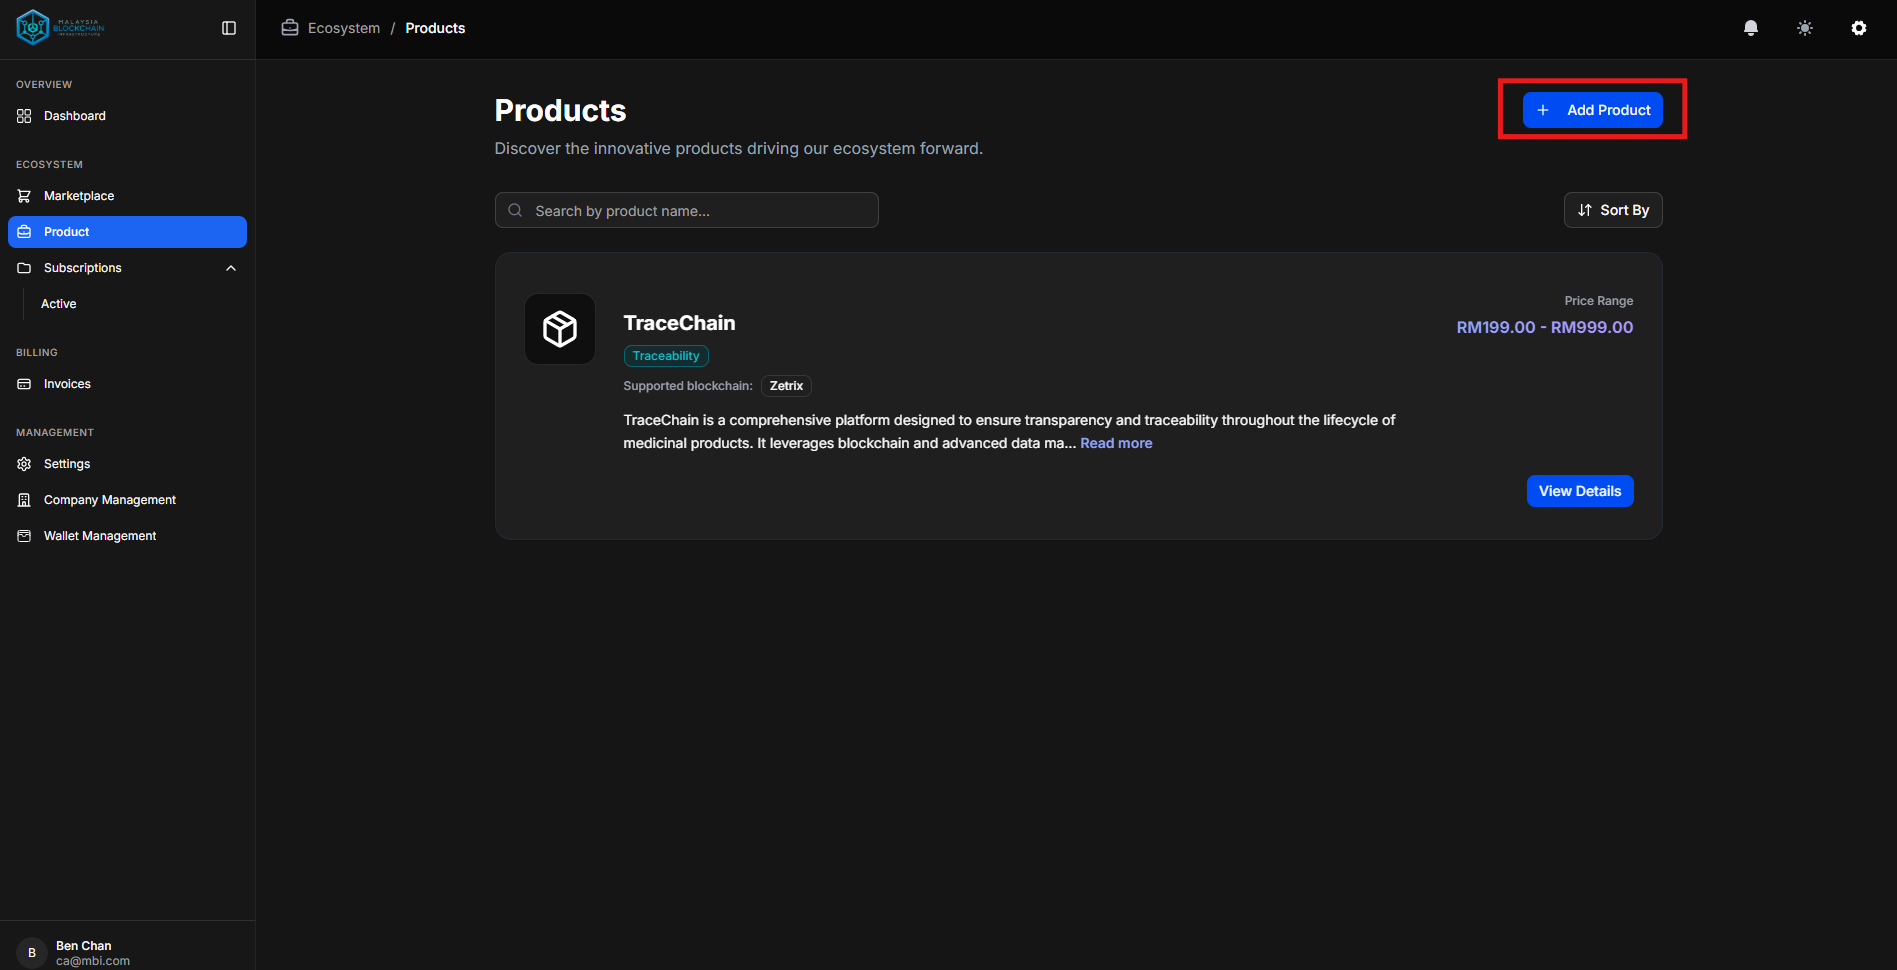
Step 2: Add a New Product
- Click Add New Product.
- A six-step setup form will guide you through configuration.
Step 3: Complete the Product Setup Form
Below is a breakdown of each form section.
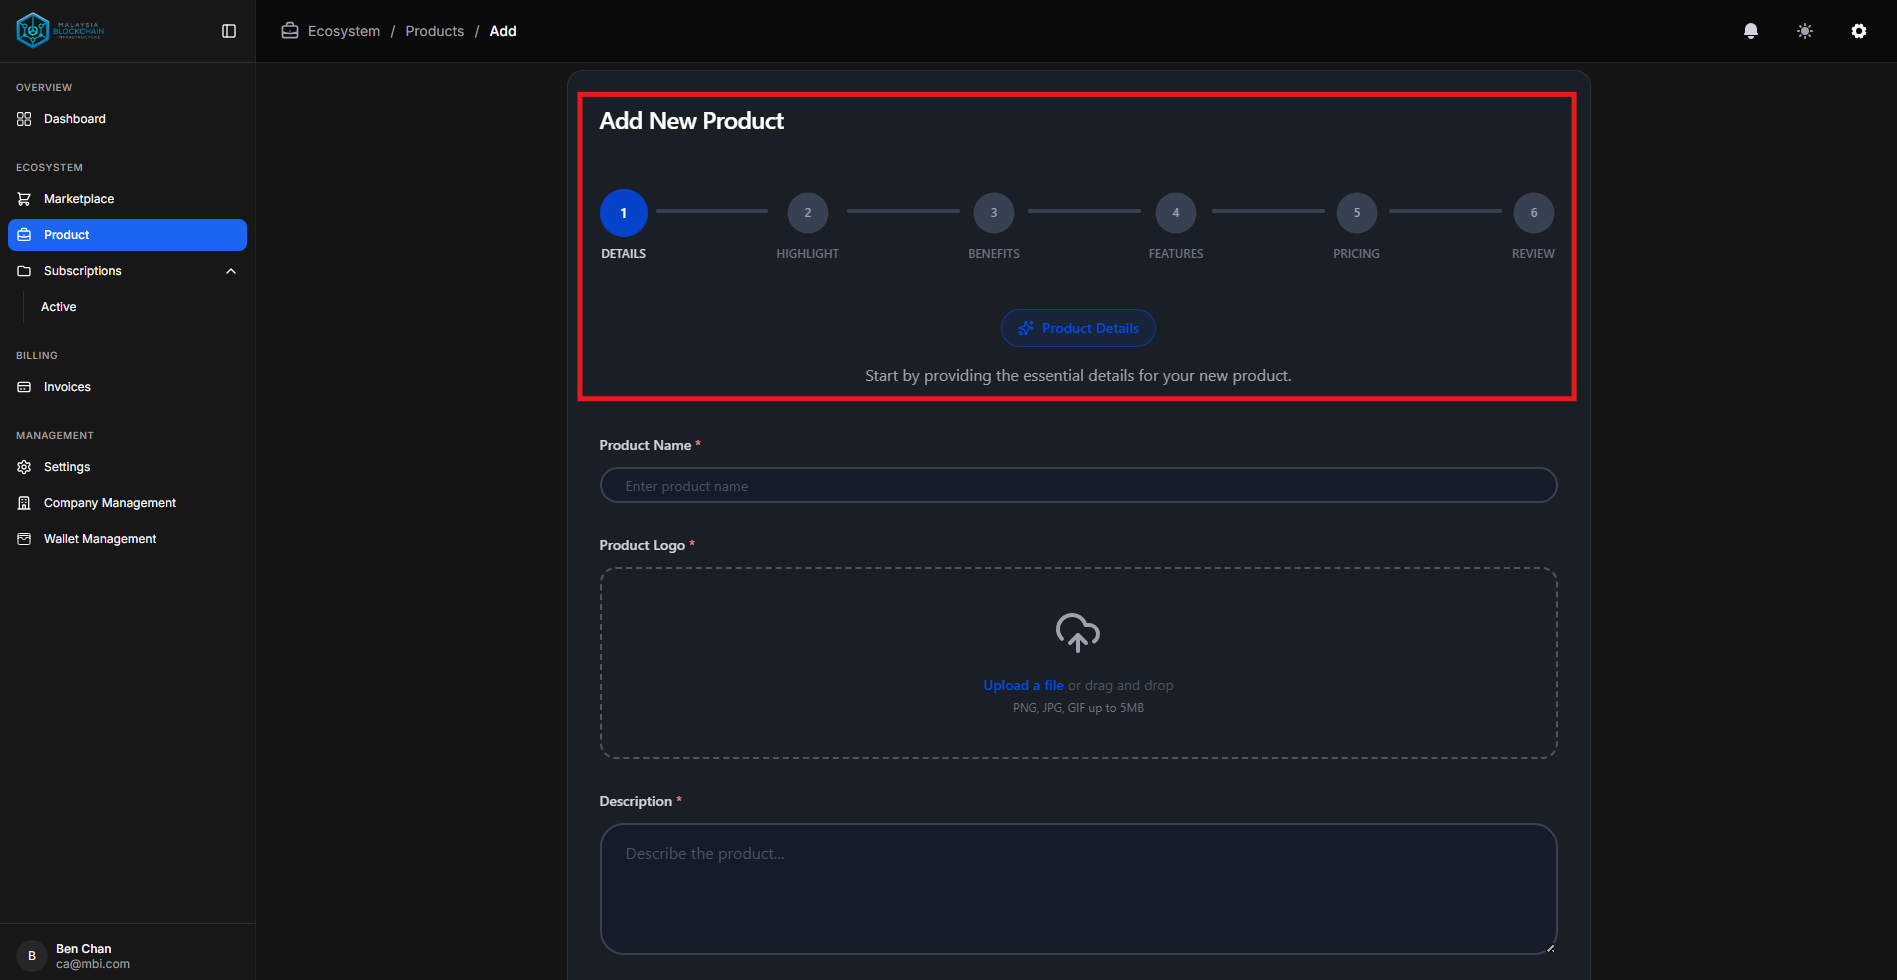
📝 Step 1: Details
Enter the basic product information:
| Field | Description |
|---|---|
| Product Name | Name displayed to users |
| Product Logo | Upload your product logo |
| Product Description | Brief explanation of the product |
| Product Categories | Select relevant categories |
Step 2: Highlights
Add key selling points of your product.
Each highlight includes:
- Highlight Title
- Highlight Icon (selectable)
- Highlight Description
Tip
Use 3–5 highlights to effectively communicate your product’s strengths.
Step 3: Benefits
Explain how your product helps users and solves problems.
Each benefit includes:
- Benefit Title
- Benefit Icon (selectable)
- Benefit Description
Note
Benefits should focus on value delivered, not features.
Step 4: Features
List what users get when they use your product.
Each feature includes:
- Feature Title
- Feature Icon
- Feature Description
Step 5: Pricing Plans
Create one or more pricing plans.
| Field | Description |
|---|---|
| Plan Name | Name of the plan |
| Plan Price | Cost of the plan |
| Plan Description | Plan summary |
| Included Features | Select features covered |
| Duration Options | Choose Monthly or Annually |
Tip
Offer multiple plans to cater to different user needs.
Step 6: Review
- Review all information carefully.
- Ensure accuracy before submitting the product.
Step 4: Submit the Product
Once submitted, you will be redirected to the product’s page displaying all information.
Pre-Publication Requirements
Before your product can be published, ensure the following items are completed.
Upload Product Manifest
Required for Publication
A valid product blueprint must be uploaded before the product can go live.
- Upload a Kubernetes YAML file
- Defines how the product deploys on the platform
What to Include in the Blueprint
Your YAML file should define:
- Deployments – application and database workloads
- Services – internal/external access points
- PersistentVolumeClaims (PVCs) – data storage
- ConfigMaps & Secrets – configuration and credentials
- Network Policies – restrict traffic where needed
Example (High-Level Structure)
A typical blueprint may include:
- Database deployment (e.g., PostgreSQL)
- Application deployment
- Services
- Storage definitions
Note
The platform accepts standard Kubernetes YAML syntax. Advanced Kubernetes expertise is not required, but the file must be valid and deployable.
Important Guidelines
- Ensure all referenced images, ConfigMaps, Secrets, and PVCs are valid.
- Use supported Kubernetes API versions.
- Avoid hard-coded credentials — always use Secrets.
- Test your blueprint in a local or test cluster before uploading.
Tip
Once uploaded, the platform will automatically deploy your product when users subscribe and create projects.
Configuring Multiple Ports in the Blueprint
If your blueprint includes more than one port, each port must be manually configured in the Additional Port Routing section.
For every port, you must provide:
- Service Name
- URL Slug
- Port Number
Undeclared Ports Will Not Be Created
Only ports that you configure in the system will be registered.
Any port defined in the blueprint but not entered in the Additional Port Routing section will not be created or exposed.
Ensure all required ports are accurately configured before finalizing the product setup.
Supported Blockchain
Navigate to the Supported Blockchain page and click Add Blockchain. Fill in all required fields to create a deployment configuration.
Quick Overview
You will select a blockchain, name the deployment, upload your smart contract, configure its metadata, define invocation JSON, and choose a deployment policy.
1. Select Blockchain
Choose the blockchain platform:
- Hyperledger Fabric
- Zetrix
When to choose which?
- Hyperledger Fabric: permissioned, modular architecture, enterprise governance.
- Zetrix: public/permissioned interoperability scenarios.
2. Deployment Name
Provide a unique name for this deployment configuration.
Example
fabric-prod-supplychain-v1zetrix-staging-loyalty-v2
3. Smart Contract Upload
Upload the smart contract file for your product.
Note
Ensure the artifact matches the programming language and contract type provided below.
4. Contract Configuration
Provide details:
- Version – e.g.,
1.0.3 - Contract Type – e.g.,
chaincode,solidity - Programming Language – e.g.,
Go,Node.js/TypeScript,Solidity - Call Format – e.g., function call + arguments specification, ABI-based call, etc.
Example configuration
5. Invocation Specification (JSON)
Enter the invocation specification in JSON describing how the contract is invoked.
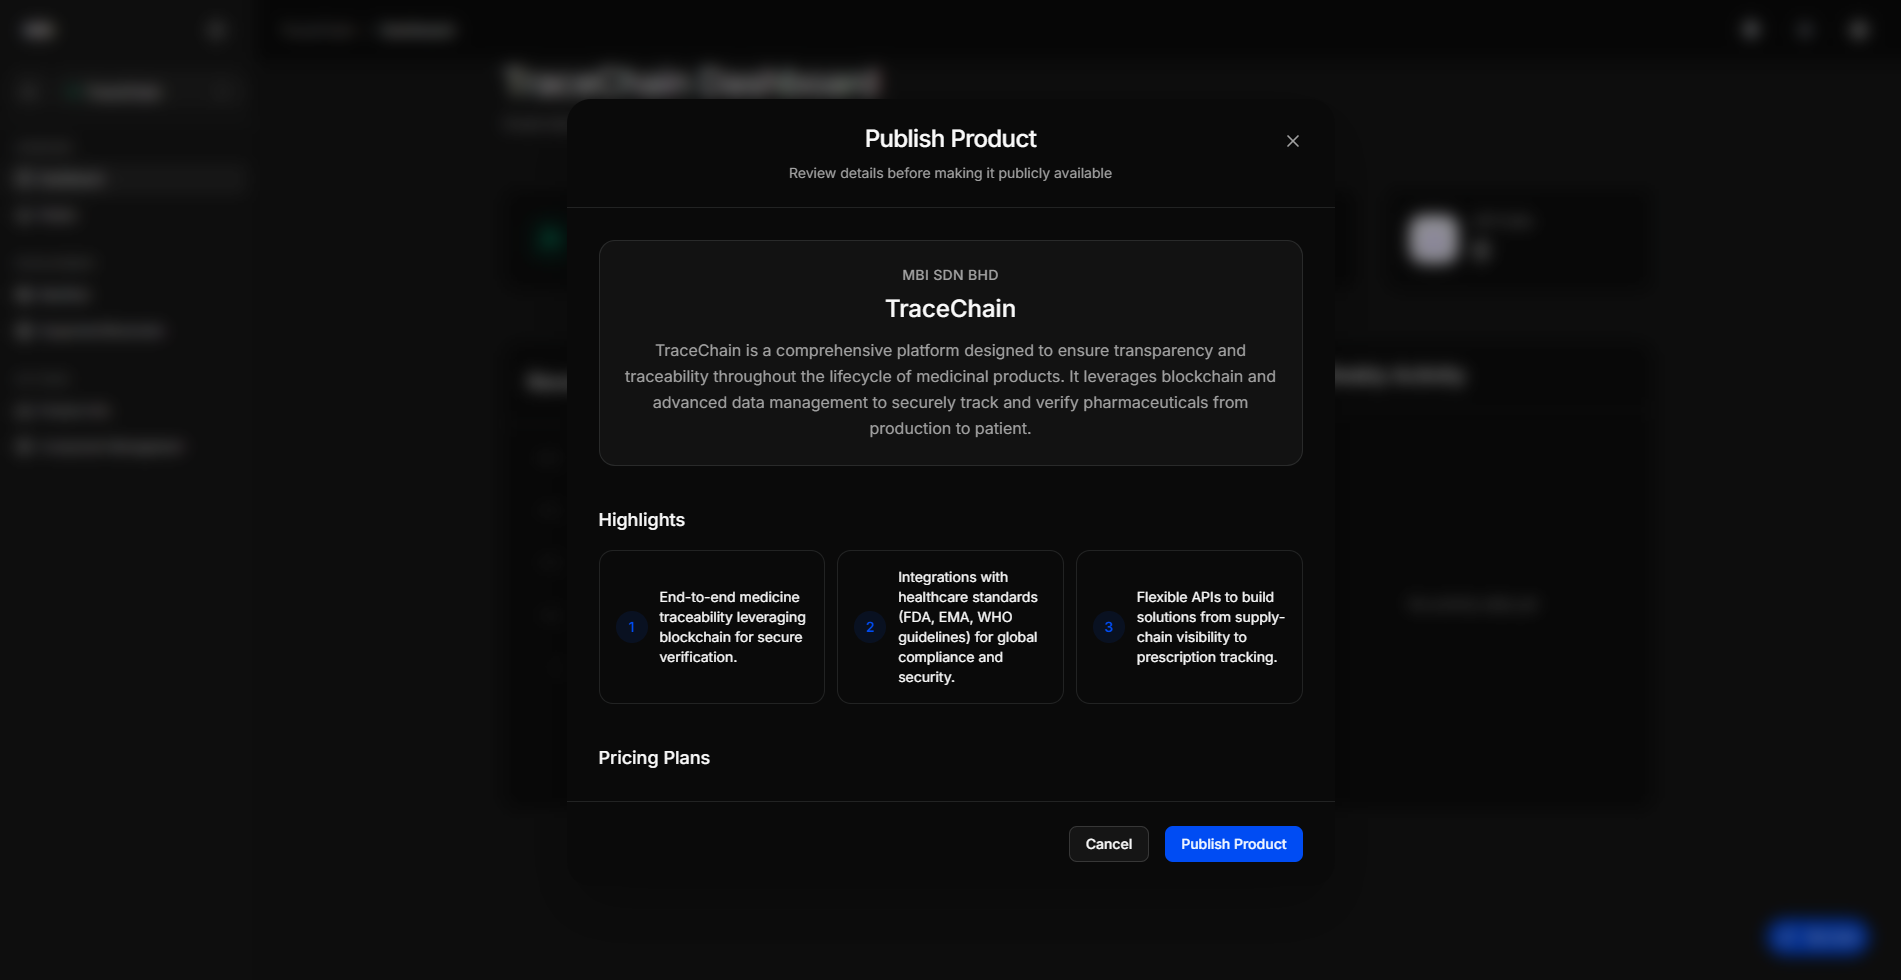
Publish Product
- After completing all requirements, click Go Live.
- review your product carefully before click Publish Product.
- Your product becomes publicly available in the marketplace.
Completion
Your product is now live, discoverable by users, and available for subscription and development use.